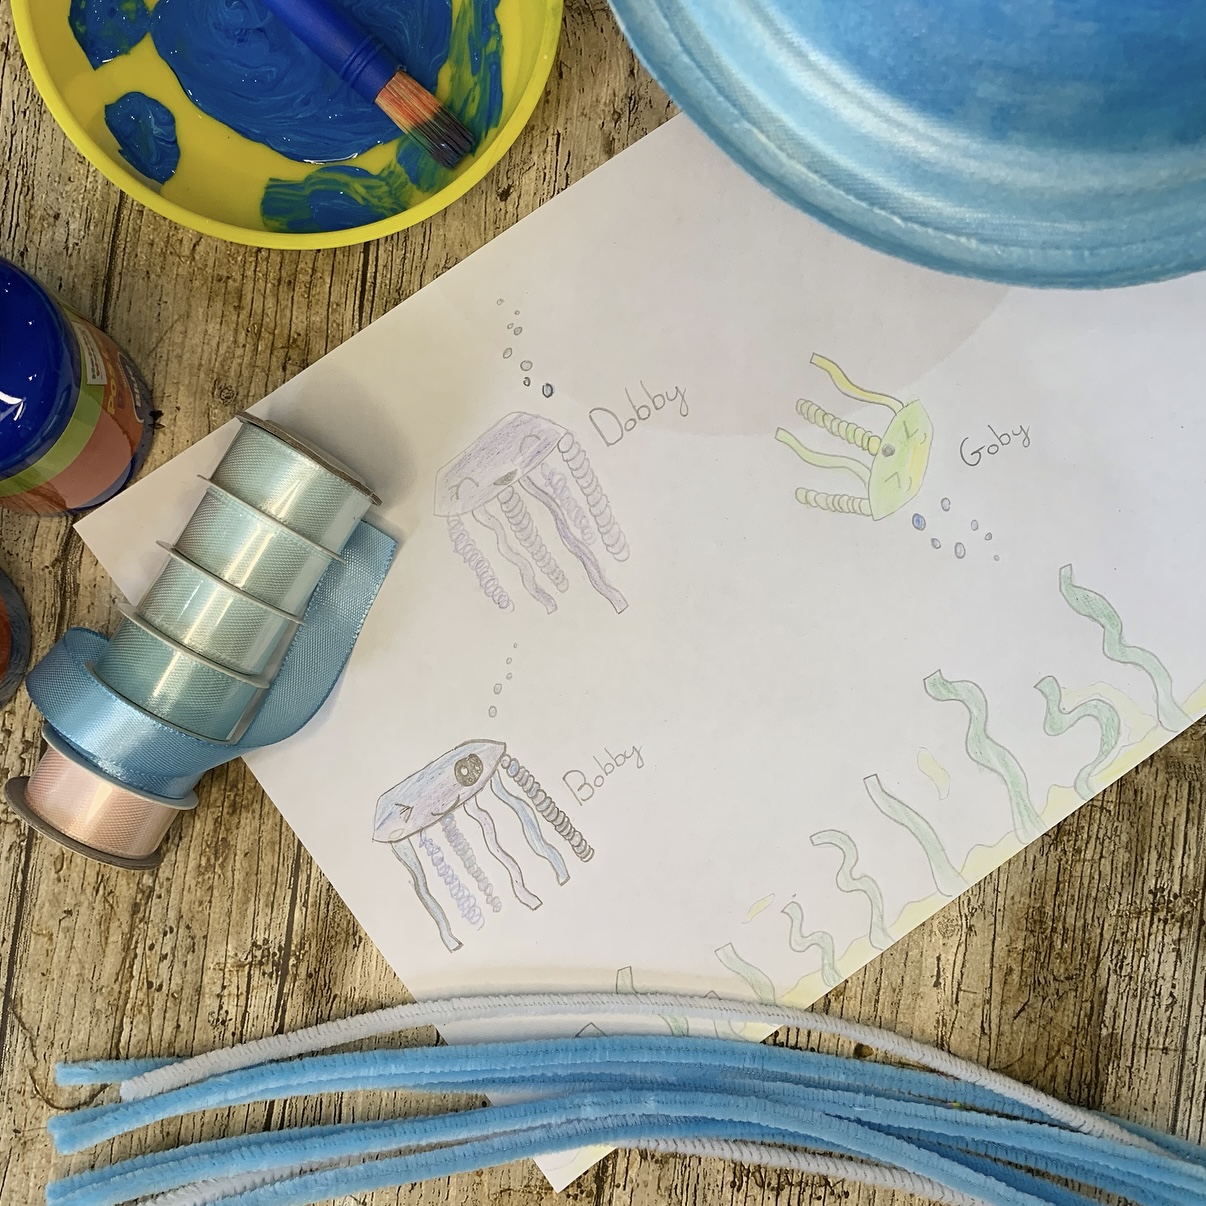
In our house we love anything to do with Kawaii and enjoy making anything into a cute Kawaii character. These Kawaii Jellyfish are so fun to make and each one can have its own personality. We started by drawing our jellyfish and adding faces and colours we wanted to use, the kids even named theirs. The best thing about these is you can use any left over craft items you may have like bits of ribbon or even tear up strips of coloured paper or tissue paper. It's a great activity to brighten up a rainy day!
WHAT YOU WILL NEED.
Paper Bowls
Paint
Paint Brushes
Black Felt Pen For The Faces
Tape
Scissors
Ribbon To Hang
OPTIONAL DECORATIONS
Ribbons
Quilling Paper
Pipe Cleaners
Tissue Paper
Sequins
Beads
We had so much fun making these we hope you enjoy it too!
STEP ONE:
Paint the paper bowls, we put ours on some tall glasses to make it easier to get all around the bowl but if your doing this with younger kids you can use a plastic cup ( I made these with my 9 and 11 year old). LET DRY about an hour but it depends on the paint you use and how thick its painted on.
STEP TWO:
Draw on a cute Kawaii face with black felt pen.
STEP THREE:
Cut different lengths of whatever decoration you've decided to use. Turn the bowl over and stick the decorations to the inside of the bowl with tape.
STEP FOUR:
Make a hole in the top of the bowl and add ribbon to hang, you can either tie a knot under the bowl or stick it to the inside of the bowl.
STEP ONE
STEP TWO
STEP THREE
STEP FOUR


No comments
Post a Comment